Pleated Blind Installation Guide for Mounting Between the Glazing Bead
INSTALLING THE PLEATED BLIND (BETWEEN THE GLAZING BEAD)
STEP 1. Check the package contents
- Pleated blind 1pc
- plastic adapters for the cord ends 4pcs
- Red template for easier installation 1pc
- Mounting clips 4pcs
- Screws 4pcs
- Handles for the profiles 2pcs
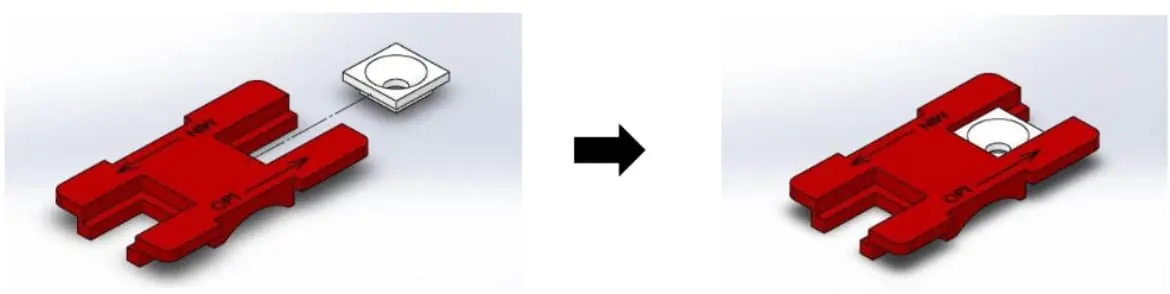
STEP 2. Place the mounting clip on the longer side of the template.
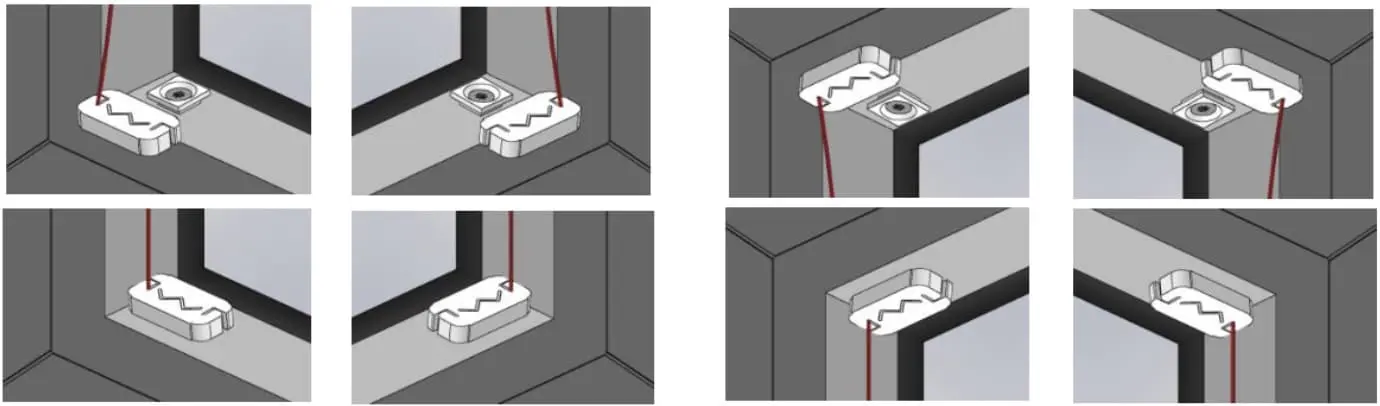
STEP 3. Attach the clips with screws to the corners of the window frame. For wooden frames, pre-drill holes for the screws (recommended also for plastic frames).

STEP 4. Attach the handles to the adapters located on the pleated blind profiles.

STEP 5. Attach the upper plastic adapters for the cord ends of the blind to the mounting clips installed on the frame. Then attach the lower plastic adapters for the cord ends to the mounting clips installed on the frame.
STEP 6. Check the movement of the pleated blind on the window A correctly installed pleated blind should move smoothly and stay in any position. If desired, you can shorten the cords, but it is recommended to leave about 2 cm of cord.

Adjusting the pleated blind Extra cord length of 5–8 cm is left at the lower attachments of the pleated blind.
- If the blind moves with difficulty, carefully untie the knots on the cords and tie new knots 5–10 mm from the old knot (this will make the cords slightly longer).
- If the blind does not stay in the desired position and slides down, tighten the cords by tying new knots 5–10 mm from the old knot (this will make the cords slightly shorter).
More information: www.rulo.ee / info@rulo.ee