Zebra (Day & Night) Roller Blind Installation Guide
INSTALLING THE ZEBRA (DAY & NIGHT) CLASSIC BLIND
STEP 1. Check the package contents
- Classic blind 1pc
- Wall brackets 2 pcs (depending on the version, with or without end caps)
- Chain stopper 2 pcs
- Screws 4 pcs (universal)
- Wall plugs 4 pcs (universal)
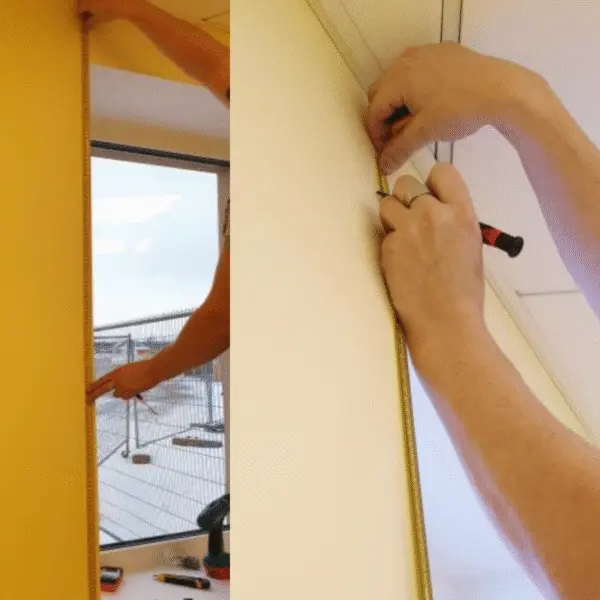
STEP 2. Check the blind dimensions by placing the blind in front of the window, either on the wall or between the window recesses (depending on the order). When mounted on the wall, the fabric should ideally be 5–10 cm wider than the opening on each side.
STEP 3. Installing the brackets
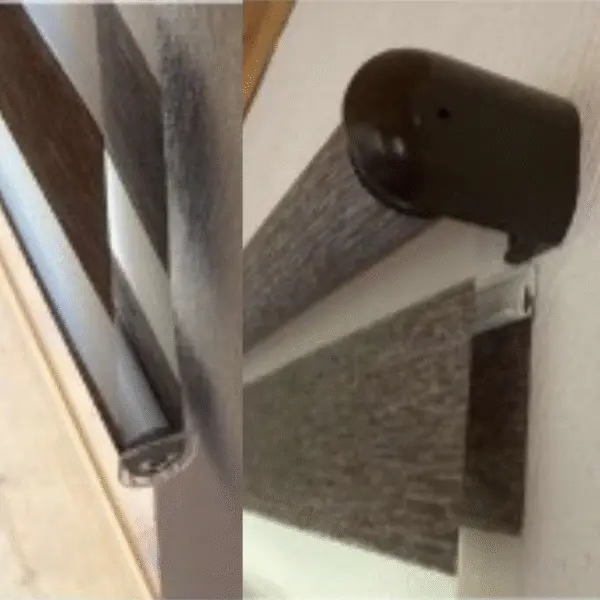
- When mounting on the wall, place the wall brackets at both ends of the blind
- Measure the total width of the blind (blind + brackets)
- Ensure equal distance from the window opening on both sides so that the blind is centered after installation
- Ideally, install the blind 6–10 cm above the top edge of the window opening
- Make sure the fabric moves smoothly
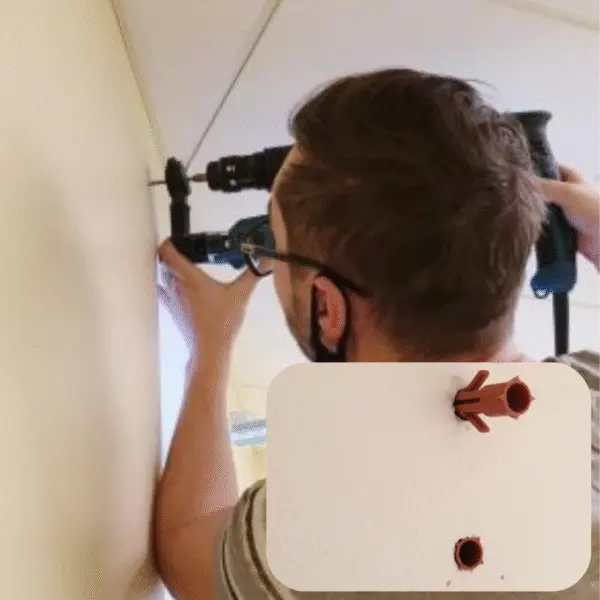
STEP 4. Mark the screw hole positions on the wall using the wall brackets. Then use a drill or hammer drill to drill the holes for the wall plugs. Install the wall plugs and wall brackets.
STEP 5. Mount the blind on the wall
- The bottom edge of the fabric has a metal profile strip with tape. Rotate the strip so that the taped side faces the window opening. Once the protective tape is removed, attach the strip under the wall brackets. Ensure that the fabric layers remain parallel.
- Insert the included metal tube between the two fabric layers so that the plastic end caps extend beyond the fabric edges.
- Unroll and roll the blind to ensure that the fabric layers run parallel. Attach the tape-attached profile strip to the wall brackets using screws. Use the pre-drilled holes.
- Add the chain stoppers. To do this, unroll the blind and press the included plastic washers (stoppers) between the chain beads so that the fabric cannot roll down below the windowsill.